Why Did My Cake Have a Dome? How to Achieve a Flat and Even Cake Top

Why Did My Cake Have a Dome? How to Achieve a Flat and Even Cake Top

Achieving a flat and even cake top is a common goal for bakers who want a professionally finished look for their cakes. A domed cake can be challenging to frost and may affect the overall presentation of your baked goods. This guide will explore why cakes often dome and provide practical tips to help you achieve a perfectly flat surface every time.

Understanding the Cause of a Domed Cake

A domed cake is usually the result of uneven baking. Several factors contribute to this issue, including oven temperature, cake batter consistency, and pan size. When a cake rises more in the center than at the edges, it creates a dome that needs to be leveled for an even finish.

1. Oven Temperature: If your oven temperature is too high, the cake may rise too quickly in the center, causing it to dome. It’s crucial to bake at the correct temperature to ensure even rising.

2. Batter Consistency: A thick batter can cause uneven baking, leading to a domed cake. Ensure your batter is well-mixed and of the right consistency for an even rise.

3. Pan Size and Shape: Using the wrong pan size or shape can impact how evenly your cake bakes. A pan that is too small may cause the cake to rise unevenly, while a pan that is too large might not provide enough support.
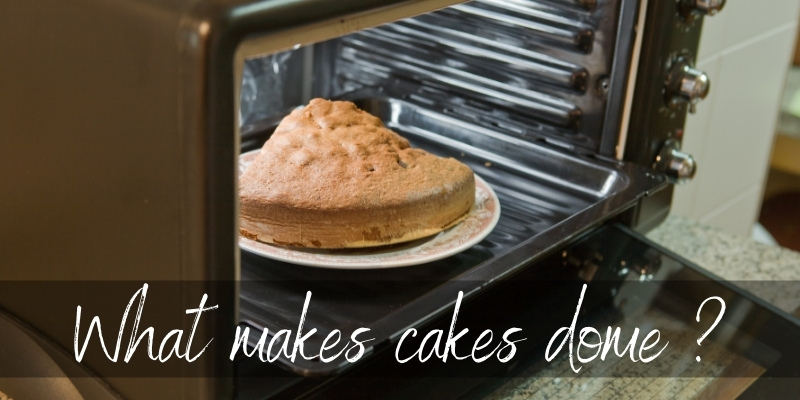
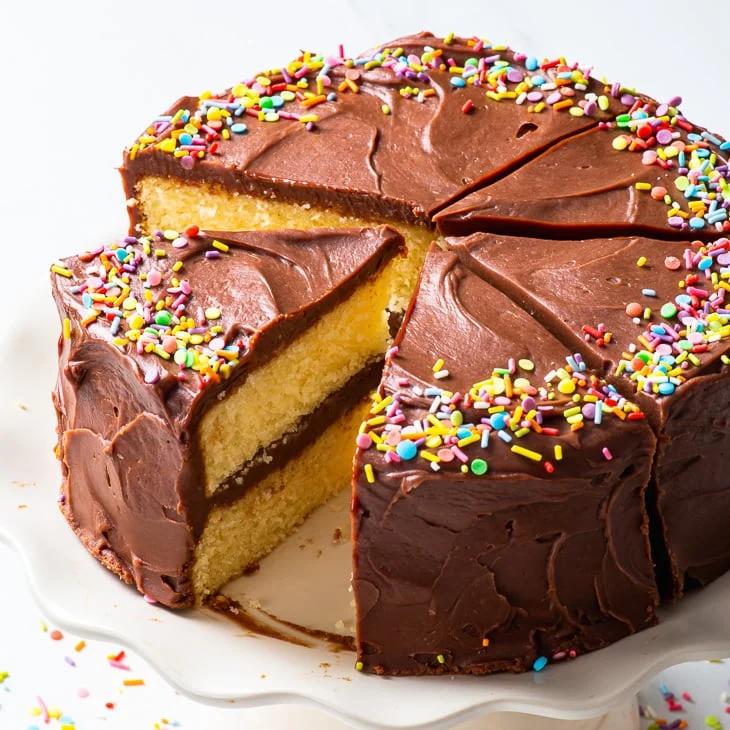
cake dome

Tips for Achieving a Flat and Even Cake Top

To avoid a domed cake and achieve a flat and even cake top, follow these tips:

1. Use the Right Oven Temperature

One of the most critical factors in baking a cake with a flat top is ensuring your oven is at the correct temperature. Use an oven thermometer to verify that your oven is not too hot or too cold. Bake at the recommended temperature for your recipe to promote even rising.

2. Bake Evenly with Cake Strips

Cake strips are specialized tools that help bake cakes more evenly. These strips wrap around the outside of your cake pan and help insulate the sides, preventing the edges from baking faster than the center. This helps reduce the doming effect and promotes a flat surface.

3. Adjust the Batter Consistency

Ensure your batter is well-mixed and of the right consistency. If your batter is too thick, it may rise unevenly. Mix your ingredients until smooth and avoid over-mixing, which can lead to a dense texture. A properly mixed batter will rise more evenly, contributing to a flatter cake top.
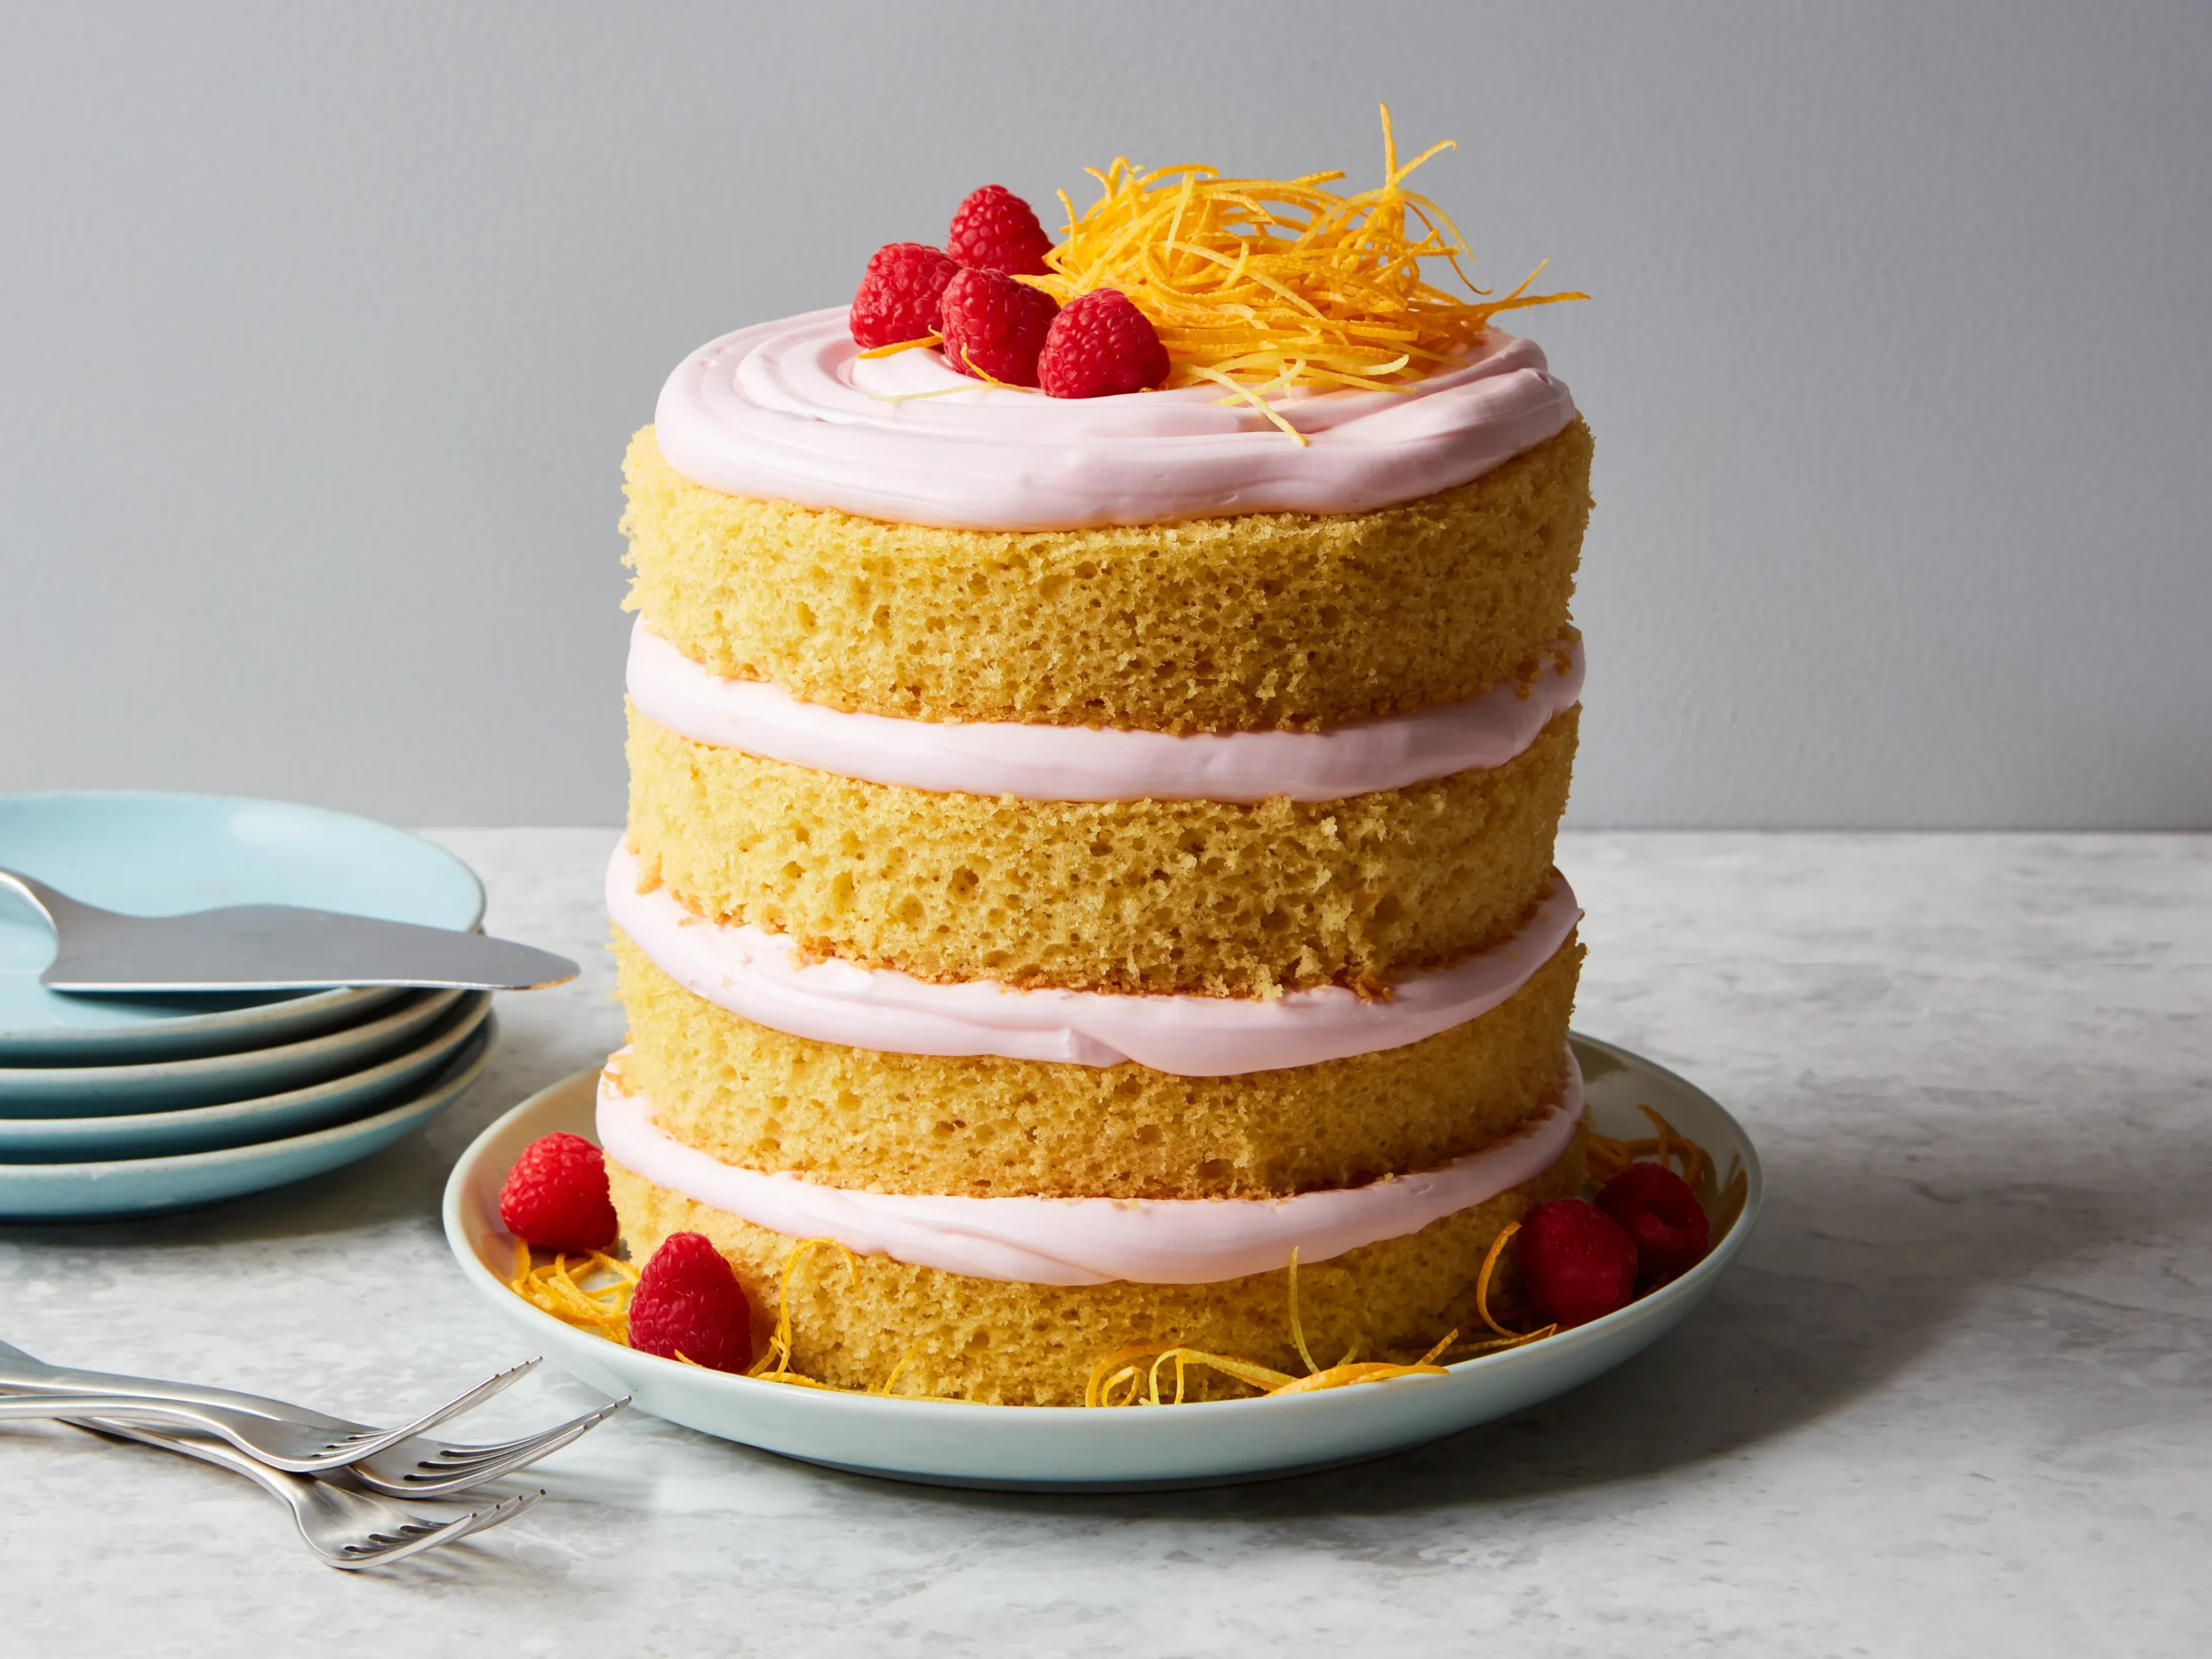
Flat and even cake top

How to Level a Domed Cake

If you end up with a domed cake, don’t worry—there are ways to level it out for a perfect finish. Here’s how to do it:

1. Use a Cake Leveler

A cake leveler is a handy tool designed to cut off the domed top of a cake and create an even surface. Simply place the leveler on the cake and slice off the dome. This tool allows for precise leveling and is particularly useful for layered cakes.

2. Level with a Serrated Knife

If you don’t have a cake leveler, a serrated knife works well for leveling a domed cake. Place the cake on a flat surface and use the knife to carefully cut away the domed portion. Keep the knife level to ensure an even cut.

3. Cool the Cake Before Leveling

Allow your cake to cool completely before leveling. A cooled cake is firmer and easier to cut, reducing the risk of crumbling. If the cake is still warm, it may be more difficult to achieve a clean, flat surface.

Baking Techniques for a Flat and Even Cake Top

Incorporating specific baking techniques can further help in achieving a flat and even cake top:

1. Use a Cake Pan with a Flat Bottom

Opt for cake pans with a flat bottom rather than those with a slight slope. Pans with a flat bottom promote even baking and help the cake rise more uniformly, reducing the likelihood of a dome.

2. Consider Using Cake Batter Strips

In addition to cake strips, you can use cake batter strips or bake-even strips that are specifically designed to ensure even baking. These strips help maintain a consistent temperature around the cake pan, promoting an even rise.

3. Avoid Overmixing the Batter

Overmixing the batter can introduce excess air and cause uneven rising. Mix the batter just until the ingredients are combined and avoid over-beating. This helps the cake rise more evenly and reduces the chance of a domed top.
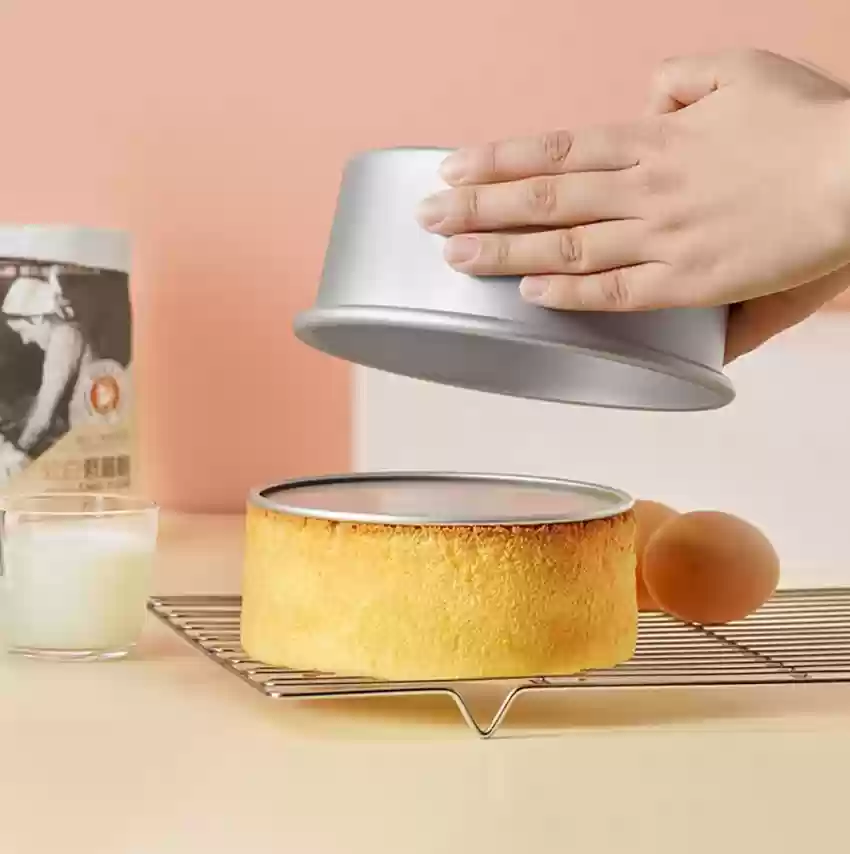
flat bottom pan for Flat and Even Cake Top
Troubleshooting Common Issues

Even with the best techniques, you may encounter challenges. Here’s how to troubleshoot common issues related to achieving a flat and even cake top:

1. Cake Dome Still Present: If your cake still domes despite following these tips, check your oven temperature and pan size. You might need to adjust the temperature or switch to a different pan size for better results.

2. Uneven Rise: If the cake rises unevenly, ensure that your oven is preheated properly and avoid opening the oven door too often. Consistent baking conditions help achieve an even rise.

3. Crumbly Texture: If your cake is too crumbly after leveling, it might be overbaked or too dry. Try adjusting your baking time and checking the cake for doneness earlier to avoid overbaking.

Enjoying a Perfect Cake

Achieving a flat and even cake top enhances both the appearance and texture of your baked goods. With the right techniques and tools, you can create cakes that look as good as they taste. Remember that practice makes perfect, and don’t be afraid to experiment with different methods to find what works best for you.

In conclusion, preventing a domed cake and achieving a flat and even cake top involves understanding baking conditions, using the right tools, and applying effective techniques. By incorporating these tips and addressing common issues, you can ensure your cakes are beautifully even and ready for any occasion. Happy baking!
To buy Baking products Click Here

To contact us Click here

Gluten-Free Baking Made Easy: Substitutes and Tips for Delicious Results

Gluten-Free Baking Made Easy: Substitutes and Tips for Delicious Results

Gluten-free baking can seem daunting, especially if you’re accustomed to traditional flour-based recipes

Understanding Gluten- Free Baking

Gluten-free baking requires a shift from conventional baking methods. Gluten, a protein found in wheat, barley, and rye, provides structure and elasticity in baked goods. Without gluten, achieving the same texture and rise can be challenging. Nevertheless, understanding how to use alternative ingredients and techniques will help you bake delicious treats

Flour Substitutes: One of the key changes in gluten-free baking is the use of alternative flours. Instead of wheat flour, you’ll need to rely on gluten-free options such as almond flour, coconut flour, rice flour, or gluten-free all-purpose flour blends. Each of these flours has unique properties that affect texture and flavor. For instance, almond flour adds moisture and a nutty flavor, while rice flour provides a light, airy texture.

Key Ingredients for Gluten-Free Baking

To achieve great results in this style of baking, it’s important to understand the role of various ingredients.

1. Gluten-Free Flours: Use a mix of gluten-free flours to mimic the properties of wheat flour. For example, a blend of rice flour, tapioca flour, and potato starch can provide a good balance of texture and structure. Commercial gluten-free flour blends often contain xanthan gum or guar gum, which help improve the elasticity and binding of the dough.

2. Binding Agents: Since gluten-free flours lack the binding properties of wheat flour, incorporating binding agents like xanthan gum or guar gum is crucial. These ingredients help provide structure and prevent crumbling. Typically, you’ll need about 1 teaspoon of xanthan gum per cup of gluten-free flour.

3. Leavening Agents: Baking powder and baking soda are essential for helping gluten-free baked goods rise. Ensure your leavening agents are fresh, as expired products can lead to dense or flat results.

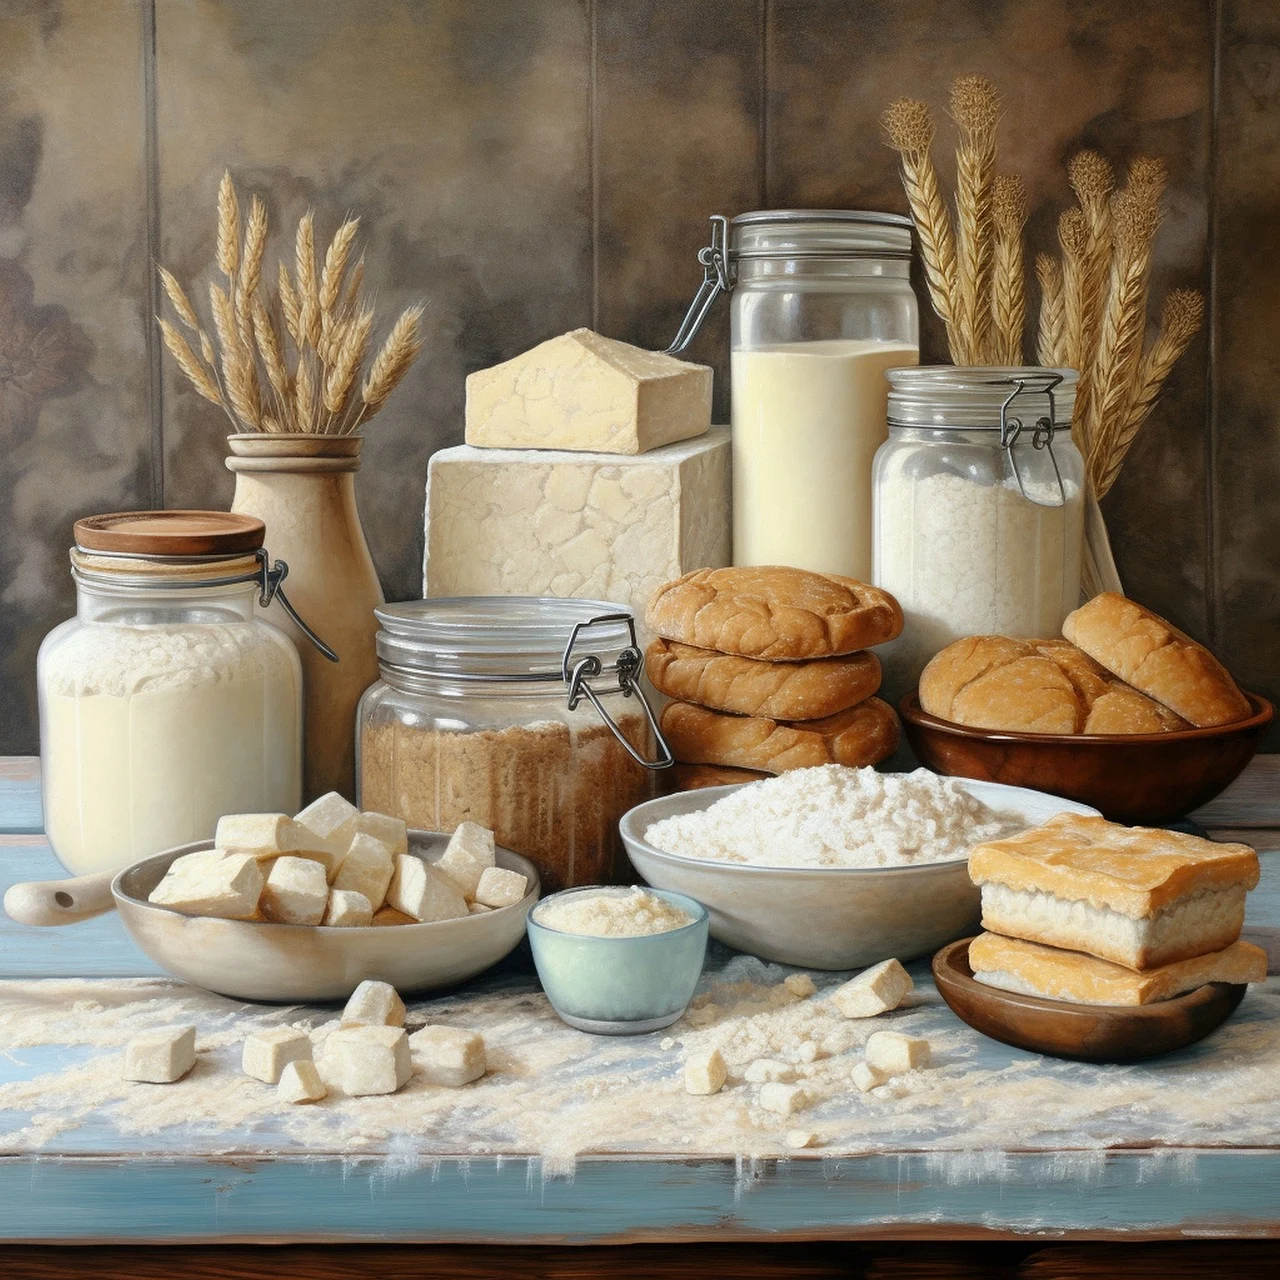
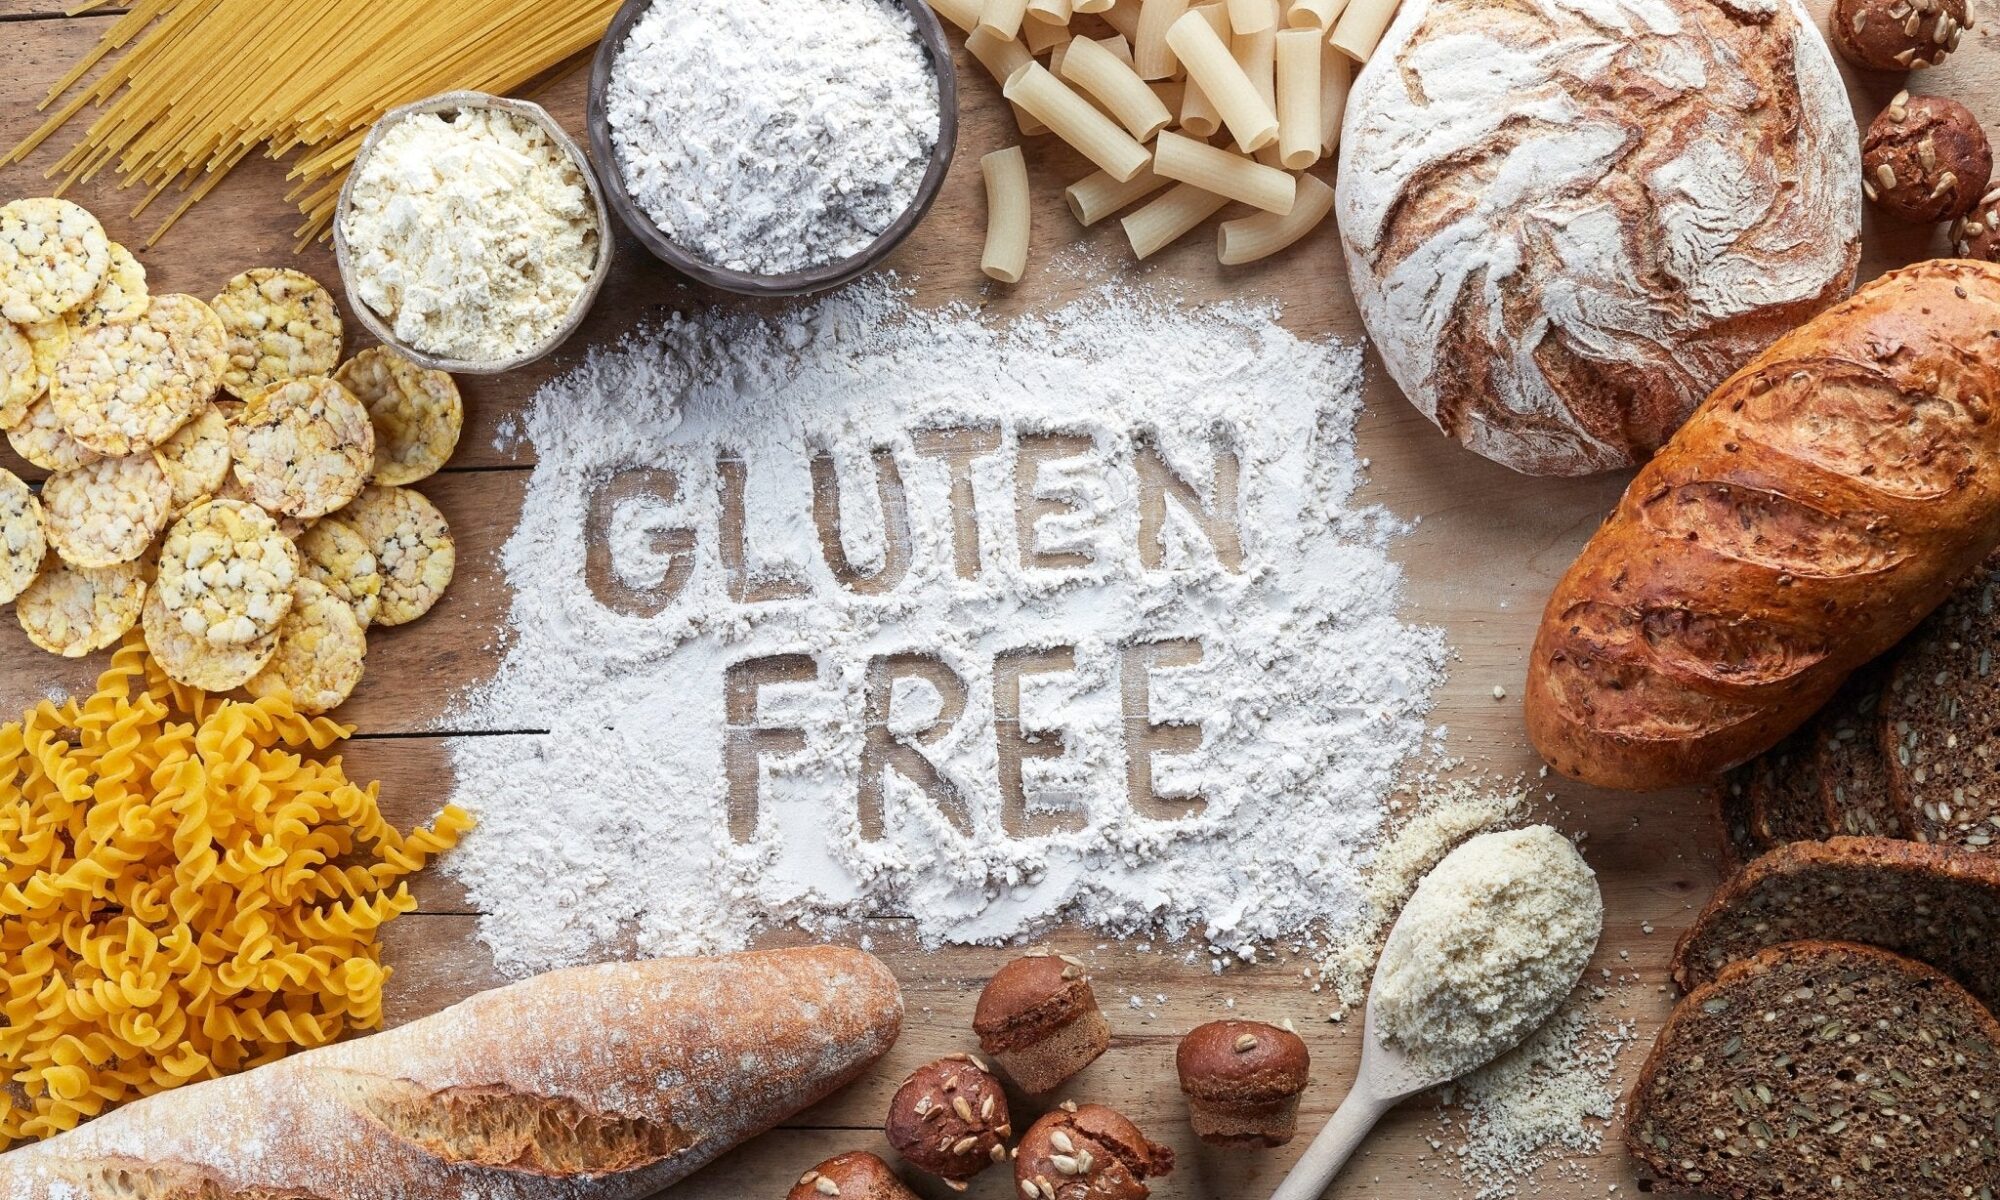
Gluten Free Baking Ingredients

Tips for Successful Gluten-Free Baking

Successfully baking gluten-free treats requires a few adjustments to traditional methods. Here are some tips to ensure your gluten-free baking turns out perfectly:

1. Measure Accurately: Gluten-free flours can vary significantly in weight and volume. Use a kitchen scale for precise measurements, as this will help you achieve consistent results. Spoon the flour into the measuring cup and level it off with a straight edge to avoid packing it down.

2. Mix Thoroughly: When using gluten-free flours, thorough mixing is essential to ensure even distribution of ingredients. Mix your dry ingredients well before combining them with wet ingredients. This helps to avoid clumps and ensures a uniform texture.

3. Adjust Baking Times: Gluten-free baked goods often require different baking times compared to their gluten-containing counterparts. Check for doneness by inserting a toothpick into the center of the cake or muffin; it should come out clean when fully baked. Additionally, gluten-free recipes may bake faster or slower, so keep a close eye on your treats.

Popular Substitutes

In addition to gluten-free flours, several substitutes can enhance your baking:

1. Applesauce: Used in place of eggs or oil, applesauce adds moisture and a subtle sweetness to your baked goods. It works particularly well in cakes and muffins, giving them a tender crumb.

2. Greek Yogurt: This can replace some of the fat in your recipes while adding creaminess and moisture. Greek yogurt is a great substitute for buttermilk or sour cream, adding richness without the gluten.

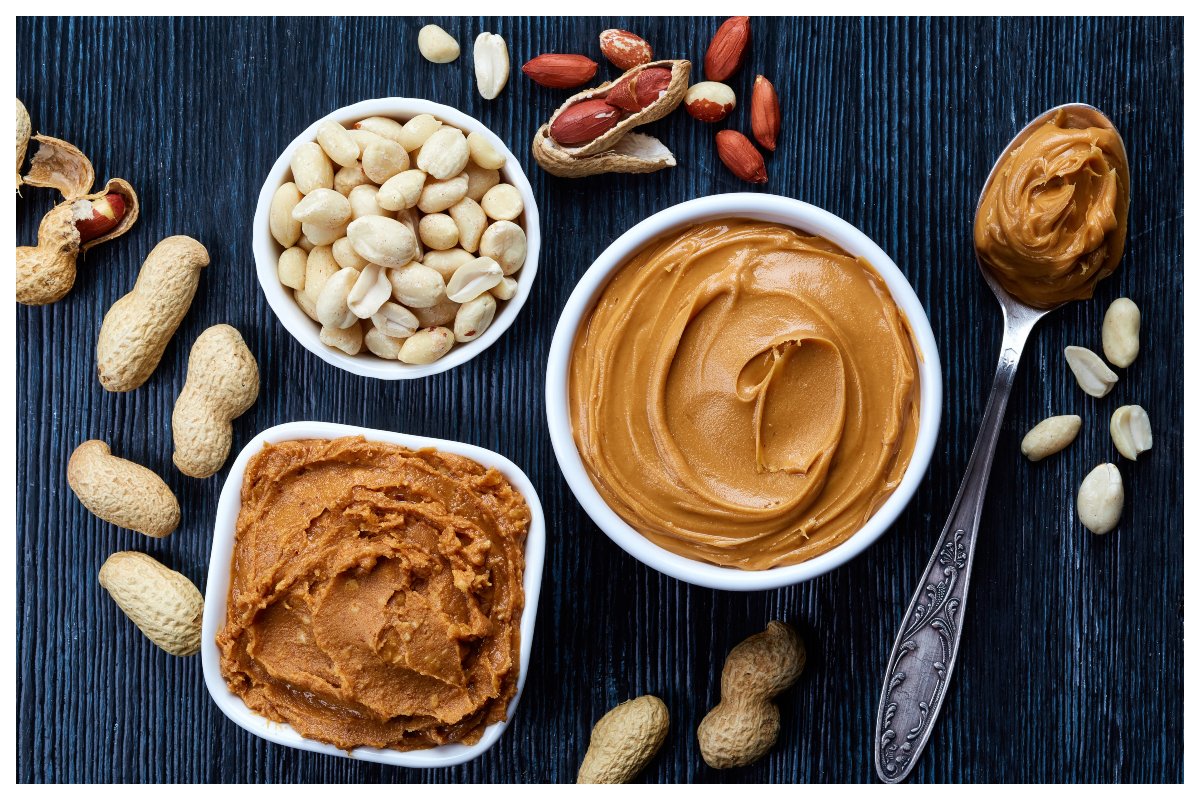
3. Nut Butters: Almond butter or peanut butter can be used to replace some of the fat in your recipes. They add flavor and richness, making them suitable for cookies and bars.

Baking Techniques

Adapting your baking techniques can make a significant difference in your results:

1. Use Parchment Paper: For easy removal of gluten-free baked goods, line your baking pans with parchment paper. This prevents sticking and ensures that your treats come out cleanly.

2. Let Cool Completely: Gluten-free baked goods often need to cool completely before being removed from the pan. This helps them set and reduces the risk of crumbling.

3. Experiment with Recipes: This style of baking may require some trial and error. Don’t be afraid to experiment with different combinations of flours and other ingredients. Keep notes on what works best for your taste and texture preferences.

Troubleshooting Common Issues

Even with the best techniques, you might encounter some challenges. Here’s how to address common issues:

1. Dense Texture: If your baked goods are too dense, try adding more leavening agents or increasing the amount of binding agents. Ensuring the flour blend includes a good mix of starches can also help improve the texture.

2. Crumbly Texture: To prevent crumbling, ensure you’re using the correct amount of binding agents. Adding an extra egg or increasing the amount of xanthan gum can help provide better structure.

3. Dryness: If your baked goods turn out dry, consider increasing the amount of moisture in the recipe. Adding an extra egg, incorporating applesauce, or using a combination of gluten-free flours that provide more moisture can help.

Enjoying Gluten-Free Baking

Embracing this style of baking opens up a world of delicious possibilities. By understanding the role of various ingredients and employing the right techniques, you can create a range of treats that are both satisfying and enjoyable. From cookies and cakes to bread and muffins, gluten-free baking allows you to indulge in your favorite goodies without compromising on taste or texture.

In conclusion, gluten-free baking is a rewarding process that, with a bit of practice and the right approach, can yield fantastic results. Use these tips and substitutes to enhance your baking skills and enjoy the many delicious outcomes that gluten-free recipes have to offer. Happy baking!

To buy Baking products Click Here

To contact us Click here

The Art of Cake Decorating: Techniques to Elevate Your Baking Creations

The Art of Cake Decorating: Techniques to Elevate Your Baking Creations

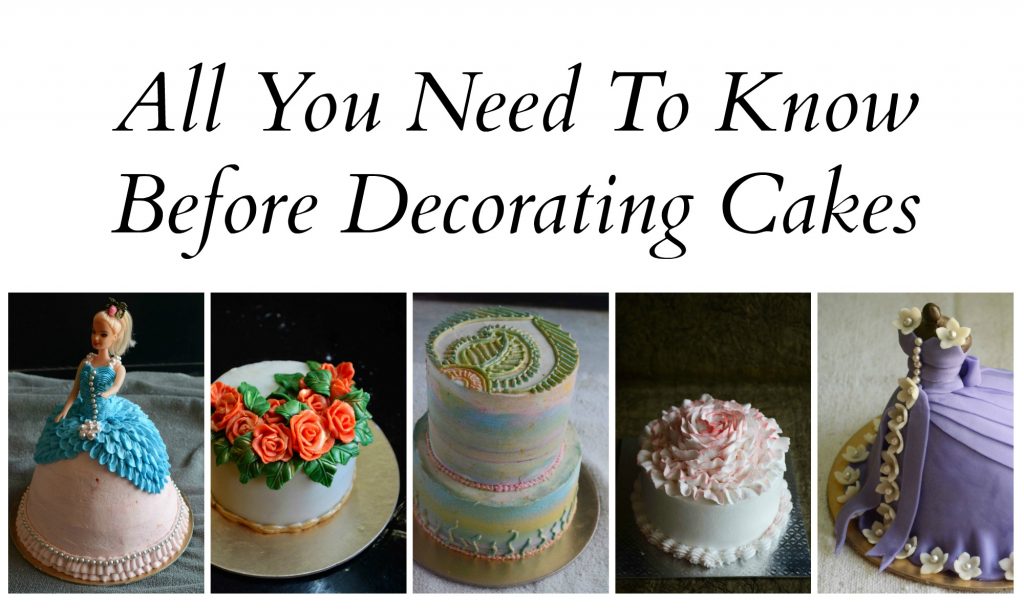
Cake decorating is an enchanting craft that transforms ordinary baked goods into stunning culinary creations. This art form combines creativity with skill, allowing bakers to create cakes that are as beautiful as they are delicious. Whether you’re an experienced baker or just starting, mastering the techniques of cake decorating can elevate your baking and impress your guests. In this guide, we’ll explore various techniques to enhance your cake decorating skills and make your cakes truly stand out.

Cake Decorating: Basics

Understanding the basics is crucial before diving into more complex techniques. First, ensure that your cake is completely cooled before you start decorating. A well-cooled cake is essential for smooth frosting application and prevents the frosting from melting. Apply a crumb coat, which is a thin layer of frosting that seals in crumbs and creates a smooth surface for the final layer of icing.

Tools of the Trade: Invest in essential tools such as an offset spatula, a turntable, and a set of piping bags with different tips. These tools will make the process more efficient and help you achieve professional-looking results. Additionally, having a cake leveler can be beneficial for cutting your cake into even layers, which is key to achieving a clean and polished look.

cake decorating basics

Cake Decoration: Mastering Frosting Techniques

Mastering various frosting techniques is vital in cake decorating. Here are a few fundamental methods that every decorator should know:

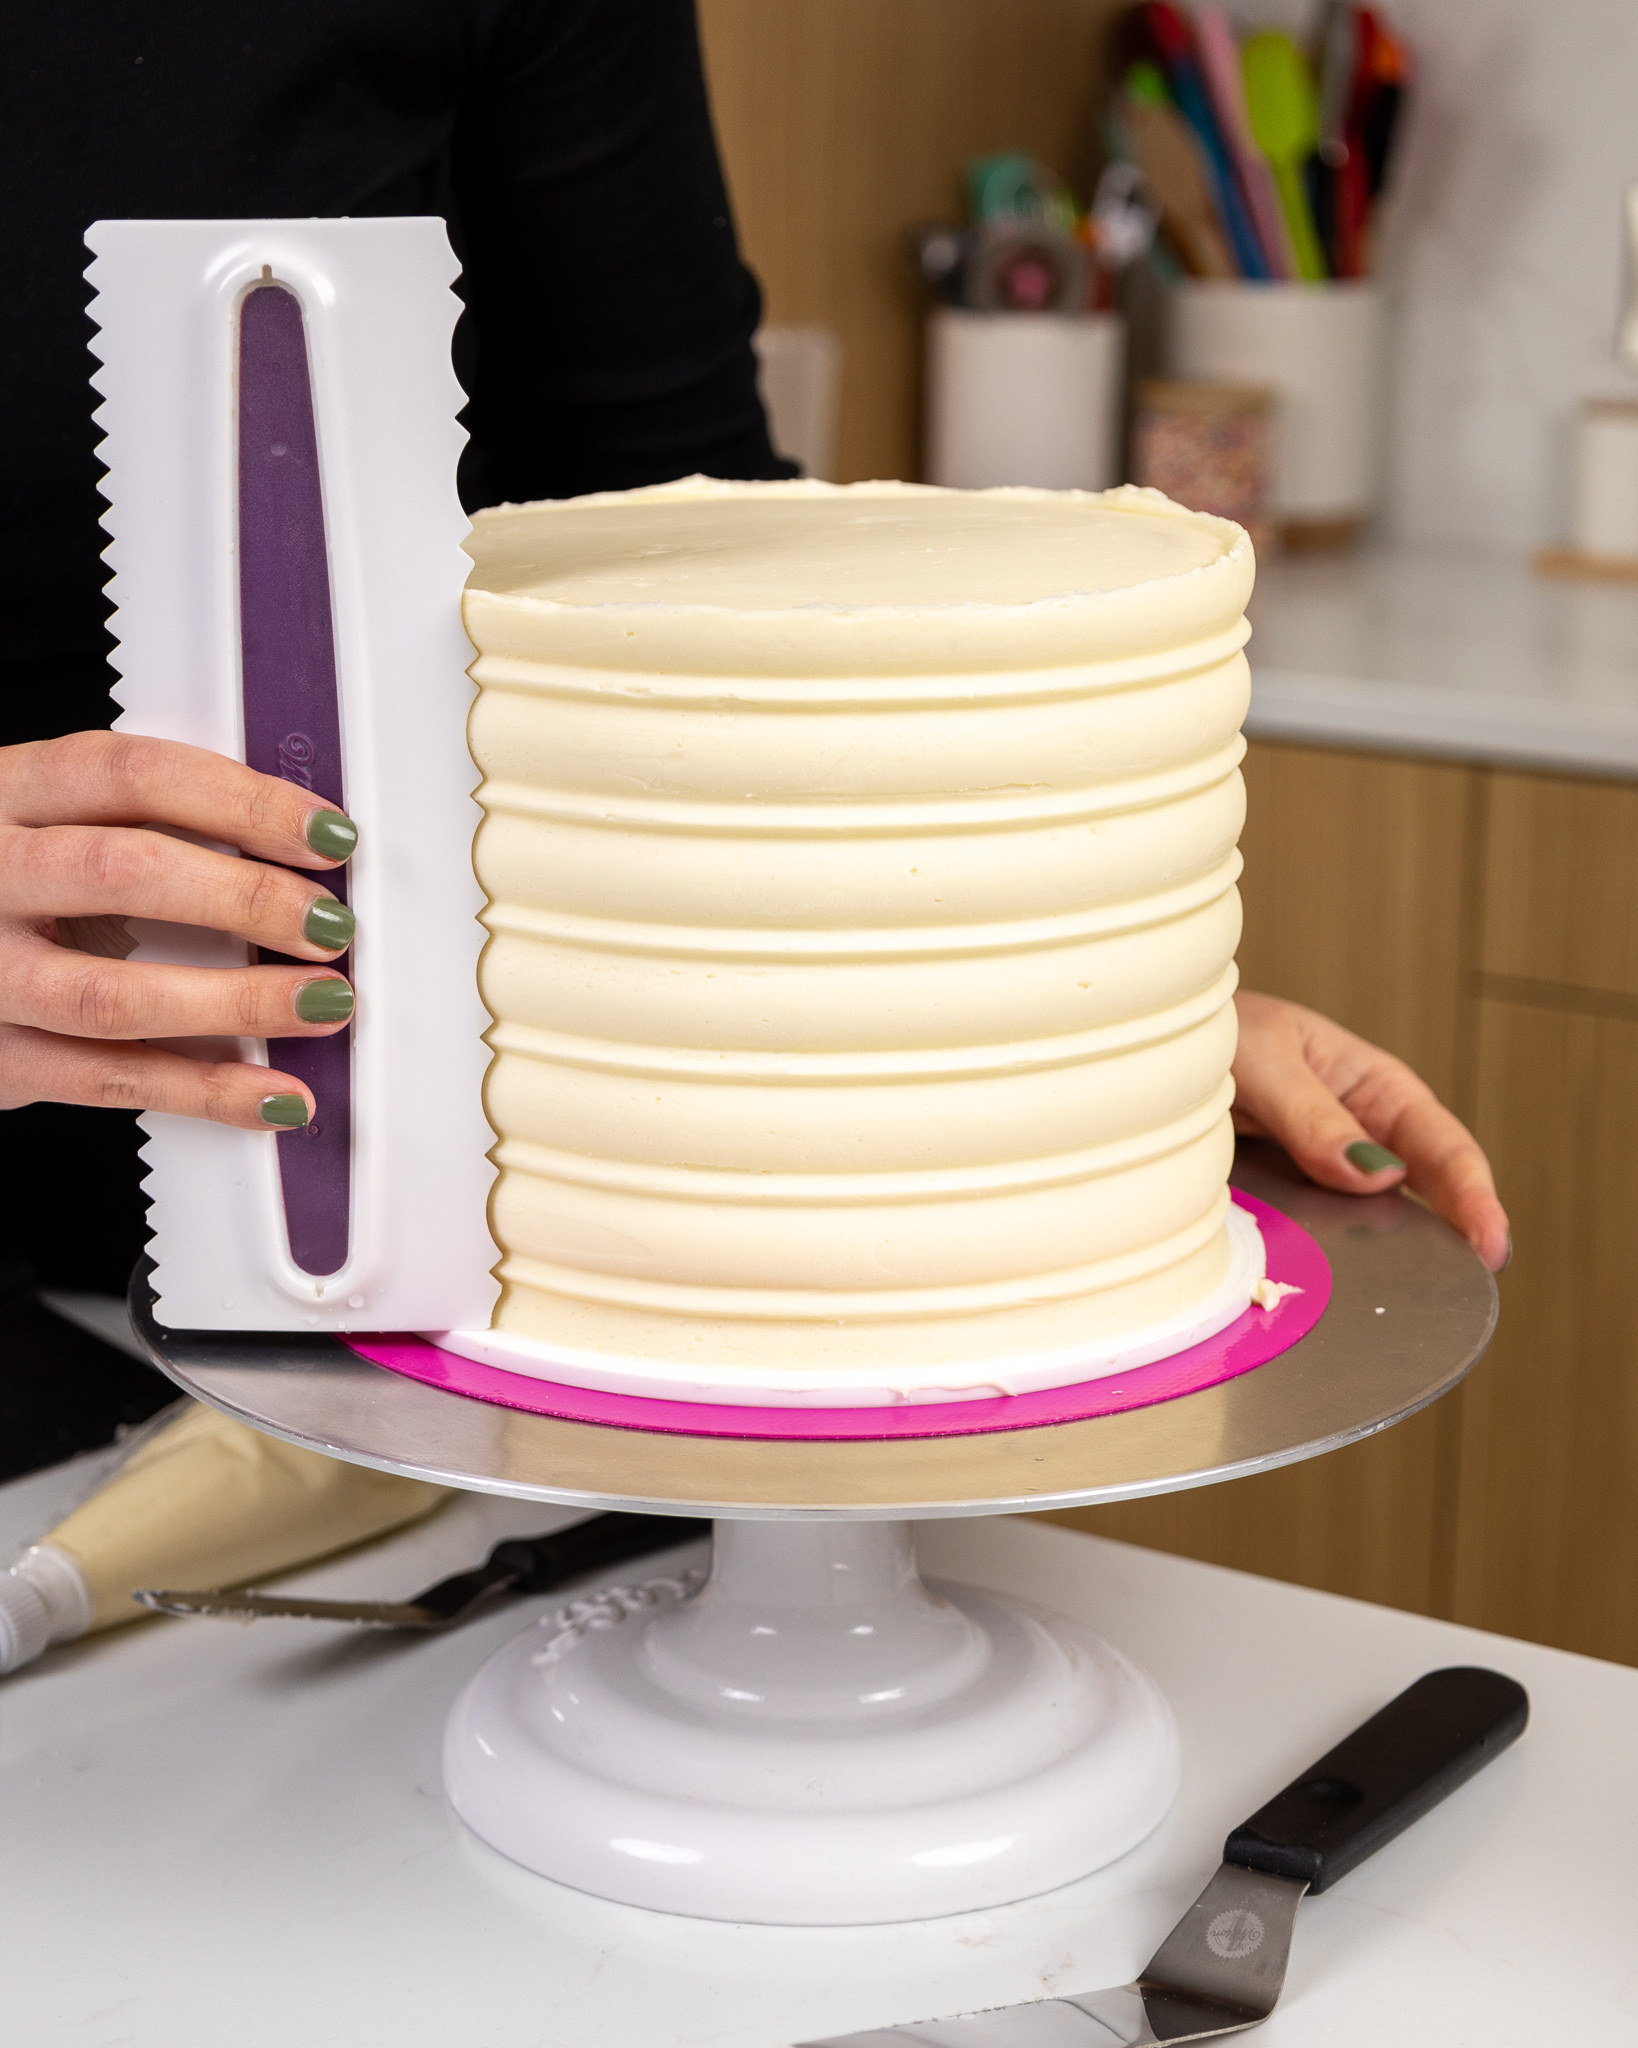
  • Smooth Finish: For a sleek appearance, spread a thin layer of frosting over your cake and use a cake scraper to achieve a smooth surface. This technique creates a clean, modern look that serves as a perfect canvas for more elaborate decorations.

  • Textured Patterns: To add texture, use a piping bag fitted with a ruffle or star tip. This can create elegant patterns like rosettes or ruffles. Experiment with different tips to find the styles that best suit your design vision.

  • Swirls and Rosettes: Swirls and rosettes are classic cake decorations that add charm and sophistication. Use a star tip to pipe rosettes in a circular motion, or create swirls by piping in a spiral pattern. These decorations can be used to cover an entire cake or as accents.

frosting using an icing comb- easy cake decorating technique

Cake Decorating with Fondant

Fondant is a versatile medium in cake decorating, offering a smooth, polished finish and endless creative possibilities. Here’s how to work with fondant:

  • Covering Cakes: Roll out fondant to a desired thickness and carefully drape it over your cake. Smooth it out using a fondant smoother to eliminate air bubbles and creases. This technique is perfect for creating a flawless, professional look.

  • Molding Shapes: Fondant can also be molded into various shapes such as flowers, bows, or figurines. Use fondant tools to create intricate details and enhance the visual appeal of your cake.

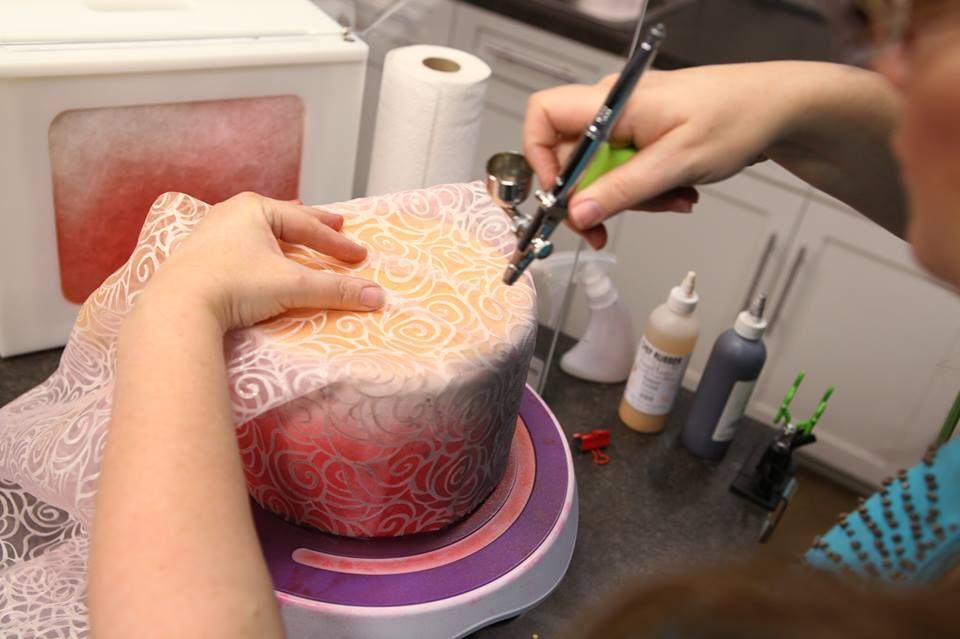
  • Decorative Accents: Add decorative accents like edible pearls, glitter, or airbrushed designs to give your cake a unique touch. These small details can make a big difference in the overall appearance.

cake decorating fondant tools

Adding Color and Design Elements: Cake Decoration

Color plays a crucial role in cake decorating, influencing the overall aesthetic of your cake. Here are some tips for incorporating color effectively:

  • Color Mixing: Use gel food colors to achieve vibrant hues without altering the consistency of your frosting. Gel colors are highly concentrated and allow you to mix shades to match your desired color scheme.

  • Design Coordination: Coordinate the colors of your cake with the theme of your event. For example, pastel colors are ideal for weddings, while bright, bold colors can be great for birthdays or celebrations.

  • Gradient Effects: Create gradient or ombre effects by gradually transitioning between colors. This technique adds depth and interest to your cake, making it visually striking.

Advanced Cake Decorating Techniques

Once you’ve mastered the basics, consider exploring advanced techniques to take your cake decorating to the next level:

  • Brush Embroidery: This technique involves using a fine brush and edible paint to create intricate, embroidered patterns on your cake. It adds a sophisticated, hand-crafted look that can elevate your cake’s design.

  • Airbrushing: An airbrush allows you to apply color in a smooth, even layer, creating beautiful gradients and effects. This technique is ideal for adding subtle color transitions and enhancing detailed designs.

  • Stencil Work: Use stencils to apply intricate patterns or designs with powdered sugar or edible paint. Stenciling can create uniform, detailed patterns that add elegance and visual interest.

Troubleshooting Common Decorating Challenges

Even experienced decorators face challenges. Here’s how to address common issues:

  • Crumbly Frosting: If your frosting is crumbly, it may be too dry. Adjust the consistency by adding a small amount of milk or butter to make it smoother and easier to work with.

  • Uneven Cake Surface: Ensure that your cake is level before decorating. Use a serrated knife or cake leveler to trim any domed tops, providing a flat surface for frosting.

  • Sinking Decorations: If decorations are sinking into the frosting, the frosting may be too soft. Allow it to set and firm up before adding heavier elements or decorations.

The Joy of Cake Decorating

Cake decorating is not just about creating beautiful cakes; it’s also about the joy and satisfaction that comes from sharing your creations. The process allows you to express your creativity and bring happiness to others. Each cake you decorate is a unique expression of your skills and personality, and the compliments and appreciation you receive make the effort worthwhile.

In conclusion, cake decorating is a rewarding and creative endeavor that combines technical skill with artistic flair. By mastering basic techniques, experimenting with different tools and mediums, and continuously practicing, you can elevate your baking creations and make every cake a work of art. Embrace the journey of cake decorating, and let your creativity shine through each delicious masterpiece you create.

To buy Baking products Click Here

To contact us Click here
Baking for Special Occasions: How to Create Stunning Cakes and Treats for Celebrations

Baking for Special Occasions: How to Create Stunning Cakes and Treats for Celebrations

Special occasions call for memorable celebrations, and nothing adds a touch of magic quite like a beautifully crafted cake or treat. Whether you’re marking a birthday, anniversary, or holiday, the right baked goods can elevate the event and make it truly unforgettable. In this guide, we’ll explore how to master the art of baking for special occasions, ensuring that your creations are as stunning as they are delicious.

Understanding the Role of Baking for Special Occasions

Baking for special occasions involves more than just following a recipe. It’s about creating something that resonates with the theme of the event and reflects the personality of the person being celebrated. Your baked goods should not only taste fantastic but also look impressive. This balance of aesthetics and flavor is key to making a lasting impression.

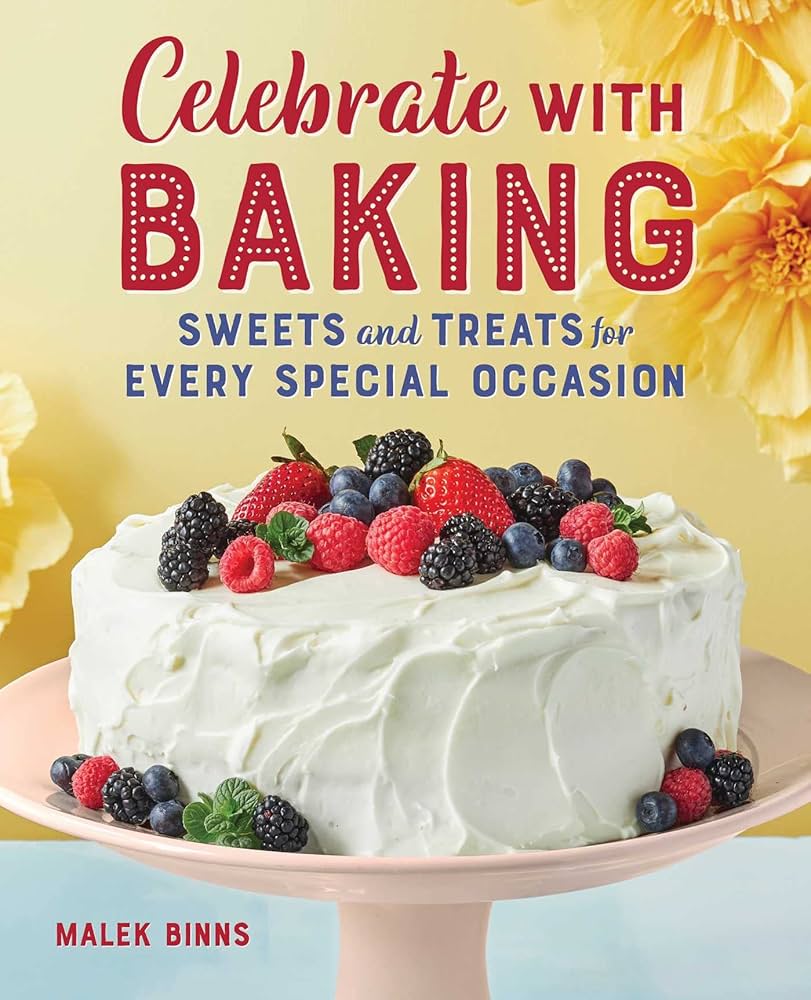
special occasion cake

Planning Your Special Occasions Bakes

1. Choose a Theme: Before you start baking, decide on a theme that aligns with the occasion. This could be as simple as a color scheme or as elaborate as a specific motif, like a beach theme for a summer party. Your theme will guide your choices in decoration and flavors.

2. Know Your Audience: Consider the preferences and dietary restrictions of your guests. Are there any allergies or specific tastes to accommodate? Offering a variety of options, including gluten-free or vegan treats, ensures that everyone can enjoy your creations.

3. Design a Menu: Plan a menu that complements the event. For a wedding, you might want an elegant tiered cake with intricate details. For a child’s birthday, fun and colorful cupcakes or a whimsical cake design might be more appropriate. Don’t forget to include some bite-sized treats for easy snacking.

To create stunning cakes and treats, having the right tools is crucial. Here are some essentials:

  • Quality Pans and Molds: Invest in high-quality baking pans and molds that suit the type of cake or treats you plan to bake. Non-stick options are popular for easy removal and clean-up.

  • Piping Bags and Tips: For detailed decorations, piping bags with various tips are invaluable. They allow you to create intricate designs, from delicate rosettes to bold borders.

  • Offset Spatula: An offset spatula is ideal for spreading and smoothing frosting, ensuring a flawless finish on your cakes.

  • Turntable: A rotating cake turntable makes decorating cakes much easier and more precise. It helps you achieve an even and professional look.

Decorating Techniques for Stunning Results

1. Fondant and Gum Paste: Fondant and gum paste allow for smooth finishes and elaborate decorations. They can be rolled out to cover cakes seamlessly or molded into intricate shapes for added flair.

2. Buttercream: A classic choice for frosting, buttercream can be piped into beautiful patterns and can be tinted to match your event’s color scheme. Experiment with different textures, such as smooth, ruffled, or swirled.

3. Edible Glitter and Sprinkles: Add a touch of sparkle with edible glitter and sprinkles. They can transform an ordinary treat into something extraordinary and festive.

4. Fresh Flowers and Fruits: For a natural and elegant touch, consider using fresh flowers or fruits. Ensure that the flowers are food-safe and free from pesticides.

Baking Tips for Special Occasions

1. Test Your Recipes: Before the big day, bake a test version of your cake or treats. This allows you to fine-tune flavors and techniques, ensuring that everything is perfect when it’s time to serve.

2. Start Early: Don’t leave everything until the last minute. Some items, like cakes, can be baked and frozen in advance. Decorate closer to the event to ensure freshness.

3. Practice Makes Perfect: If you’re trying out a new decorating technique or recipe, practice ahead of time. This will help build your confidence and ensure that your final creations are flawless.

4. Keep It Cool: Many decorated cakes and treats need to be kept cool to maintain their shape and freshness. Invest in a cake carrier or a suitable storage solution to keep your creations in top condition.

Inspiration for Special Occasion Baking

1. Themed Cakes: For milestone birthdays or anniversaries, themed cakes that reflect the interests or hobbies of the person being celebrated can be a hit. Think about incorporating personal elements like favorite colors, hobbies, or even a memorable quote.

2. Cupcake Towers: A tower of beautifully decorated cupcakes can be a stylish and practical alternative to a traditional cake. They allow for a variety of flavors and are perfect for serving a crowd.

3. Custom Cookies: Custom-decorated cookies can be tailored to match your event’s theme. They also make great party favors that guests can take home.

4. Elegant Desserts: For formal occasions, consider elegant desserts like mini tarts, macarons, or layered mousses. These can add a touch of sophistication to any celebration.

Conclusion

Baking for special occasions is a wonderful way to add a personal touch to your celebrations. By choosing the right recipes, planning your designs, and using the best tools, you can create cakes and treats that not only taste delicious but also look spectacular. Remember, the key to memorable baking is attention to detail and a bit of creativity. So, gather your ingredients, get your tools ready, and let your imagination run wild. Your next special occasion is sure to be a sweet success!

To buy Baking products Click Here

To contact us Click here
10 Essential Baking Tools Every Home Baker Should Have in Their Kitchen

10 Essential Baking Tools Every Home Baker Needs in Their Kitchen

Baking is a delightful and rewarding activity that combines precision, creativity, and a dash of patience. Whether you’re a seasoned pastry chef or a home baker experimenting with your first batch of cookies, having the right tools can make all the difference. In this guide, we’ll explore ten essential baking tools that should be staples in any kitchen, helping you achieve perfect results every time.

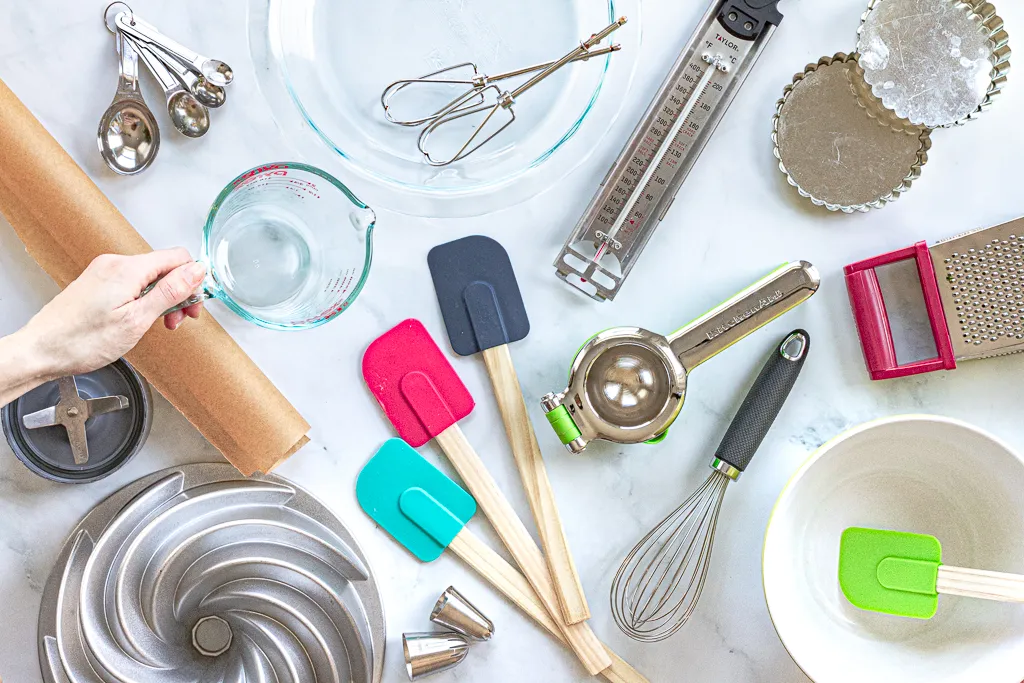
baking tools

Baking Tools for Every Home Baker must have

1. Measuring Cups and Spoons

Accurate measurements are crucial in baking. Unlike cooking, where you can adjust seasonings to taste, baking requires precise proportions of ingredients. Invest in a set of measuring cups and spoons to ensure you get the correct amounts every time. Look for sturdy, easy-to-read measurements and consider sets that include both dry and liquid measuring tools.

2. Digital Kitchen Scale

For the most precise measurements, a digital kitchen scale is indispensable. Weighing ingredients, especially for recipes involving flour, sugar, and butter, ensures consistency and accuracy. A scale is particularly useful for bread baking, where the exact amount of flour and water can impact the texture of the dough significantly.

3. Mixing Bowls

Mixing bowls are a versatile tool in baking. They come in various sizes and materials, such as glass, stainless steel, and plastic. Opt for a set that includes different sizes to accommodate everything from small amounts of ingredients to large batches. Non-slip bases can help keep the bowls steady while mixing.

4. Whisk

A good whisk is essential for combining ingredients smoothly. Whether you’re whipping cream, beating eggs, or mixing dry and wet ingredients, a whisk ensures a well-blended mixture. Look for a whisk with a comfortable handle and durable, stainless steel wires for the best results.

5. Rubber Spatula

A rubber spatula is incredibly useful for scraping down the sides of mixing bowls and folding ingredients together without over-mixing. It’s perfect for getting every bit of batter or dough out of the bowl and into your baking pans. Choose a spatula with a heat-resistant silicone head for added versatility.

6. Rolling Pin

A rolling pin is a classic baking tool that every baker needs. It’s essential for rolling out dough evenly, whether you’re making cookies, pie crusts, or pastries. Opt for a rolling pin with a comfortable handle and consider options with adjustable thickness rings for consistent dough thickness.

7. Baking Pans

A variety of baking pans can make your baking experience smoother. From cookie sheets and cake pans to muffin tins and loaf pans, having the right pan for each recipe is key. Non-stick options are popular for their ease of use and cleaning, but remember to follow the recipe’s recommendations for the best results.

8. Oven Thermometer

An oven thermometer is a small but mighty tool that ensures your oven is at the correct temperature. Many home ovens can have temperature fluctuations or inaccuracies, which can affect your baking. Placing a thermometer in your oven can help you achieve the perfect baking environment.

9. Cooling Racks

Cooling racks are crucial for allowing your baked goods to cool evenly and avoid sogginess. They provide airflow around your cakes, cookies, and bread, preventing them from becoming too moist on the bottom. Look for racks that are sturdy and can be stacked for convenience.

10. Piping Bags and Tips

For those who love decorating cakes, cupcakes, and cookies, piping bags and tips are essential. They allow you to create beautiful designs and intricate details with ease. Invest in a set of various tips and bags to experiment with different shapes and patterns.

Best Baking Tools for Your Needs must be chosen correctly

When selecting baking tools, consider quality and durability. Investing in well-made tools can enhance your baking experience and provide better results. It’s also important to keep your tools well-maintained. Regular cleaning and proper storage will extend their lifespan and ensure they perform optimally.

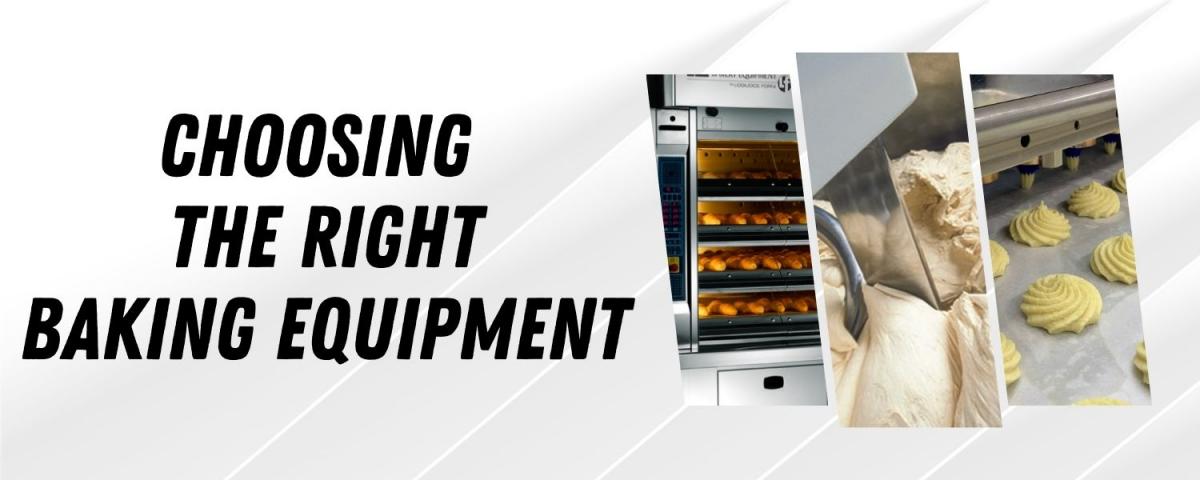
choosing the right baking tools

Additional Tips for Success

  • Read Recipes Thoroughly: Before you start baking, read through your recipe carefully. Familiarize yourself with the ingredients, equipment needed, and steps involved.
  • Prepare Ingredients in Advance: Measure out all your ingredients before you begin mixing. This makes the process smoother and helps avoid mistakes.
  • Preheat Your Oven: Ensure your oven is fully preheated before placing your baked goods inside. This ensures even cooking and optimal texture.
Conclusion

With the right baking tools at your disposal, you can elevate your baking skills and enjoy consistent results. Each of these ten essential tools plays a unique role in the baking process, making your time in the kitchen more enjoyable and productive. Whether you’re whipping up a batch of cookies for a family gathering or perfecting a complex cake recipe, these tools will help you achieve bakery-quality results right at home.

By investing in quality tools and understanding their uses, you’ll find that baking becomes not just easier but also more fun. So, gather these essentials and start creating delicious treats that will impress friends and family alike. Happy baking!

Mastering Baking Temperatures: A Guide to Perfecting Your Recipes

Mastering Baking Temperatures: Tips for Perfecting Your Recipes Every Time

When it comes to baking, one of the most crucial factors for achieving perfect results is understanding and controlling baking temperatures. Whether you’re baking a simple loaf of bread or a complex multi-layered cake, getting the temperature right can make all the difference in texture, taste, and overall success. This guide will delve into how to manage baking temperatures to ensure your recipes turn out perfectly every time.

Why Baking Temperatures Matters

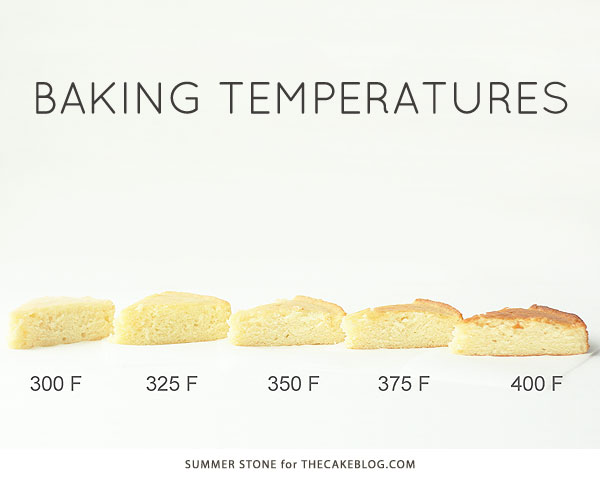
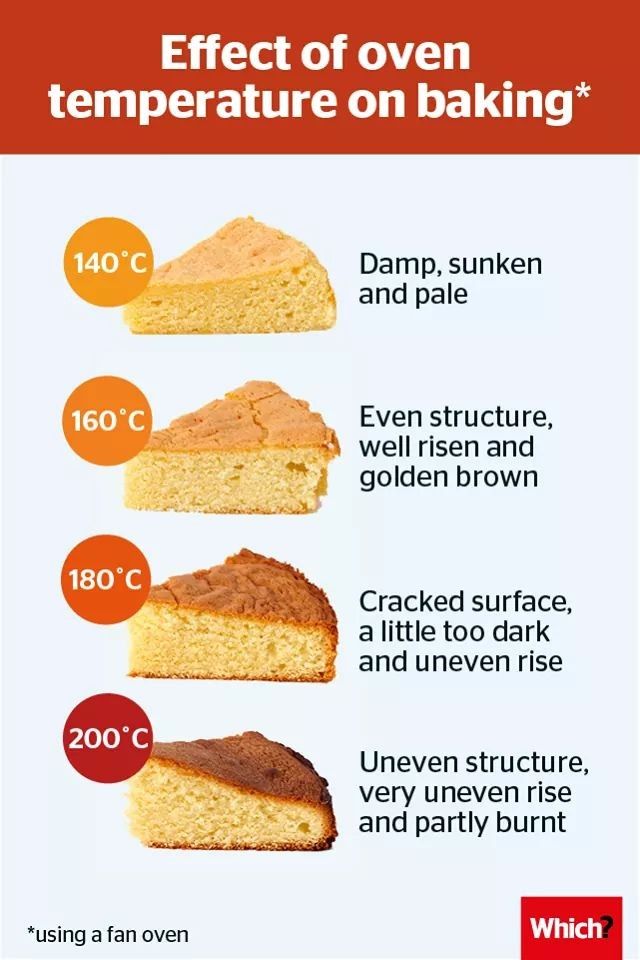
Baking is both an art and a science. Unlike cooking, which often allows for some flexibility and adjustments, baking relies heavily on precise measurements and conditions. The temperature at which you bake affects everything from how well your dough rises to the texture of your final product. Incorrect temperatures can lead to undercooked centers, burnt edges, or uneven textures, making it crucial to understand how to adjust and control your oven’s heat.

baking temperatures

Understanding Your Oven

First, it’s important to recognize that not all ovens are created equal. There are variations in heat distribution, which can affect your baking. Most modern ovens have different settings, such as convection, conventional, and broil. Convection ovens use a fan to circulate hot air, providing even heating and often reducing baking times. Conventional ovens, on the other hand, might have hot spots that require careful monitoring and rotation of your baking trays.

To get a better sense of how your oven performs, consider investing in an oven thermometer. This simple tool can help you gauge whether your oven’s internal temperature aligns with what you set it to, ensuring you make necessary adjustments for accurate baking.

Adjusting Temperatures for Different Recipes

Different recipes require different baking temperatures, and understanding these requirements is key to success. For instance, delicate items like soufflés and meringues often need lower temperatures to cook evenly without burning. Conversely, denser items like bread or pizza may need higher temperatures to achieve a crispy crust and properly cooked interior.

1. Cakes and Cupcakes: These generally bake at moderate temperatures, usually between 325°F and 375°F (165°C to 190°C). If you’re baking a cake in a dark-colored pan, consider lowering the temperature slightly to prevent over-browning.

2. Cookies: Baking temperatures for cookies often range from 350°F to 375°F (175°C to 190°C). Thicker cookies may require slightly lower temperatures and longer baking times to ensure they cook through without burning.

3. Bread: Most bread recipes call for baking temperatures between 375°F and 425°F (190°C to 220°C). The high heat is crucial for developing a good crust while ensuring the inside is fully cooked.

4. Pies: Pies often start at a higher temperature, around 400°F (200°C), to set the crust and then reduce the heat to allow the filling to cook thoroughly.

Baking at High Altitudes

If you live at a high altitude, you’ll need to adjust your baking temperatures and times. At higher elevations, the lower air pressure can cause baked goods to rise too quickly, resulting in collapse. To combat this, you might need to increase the baking temperature slightly and reduce the amount of leavening agents in your recipe.

Tip: Increase the oven temperature by 15°F (8°C) to help set the structure of your baked goods before they rise too much.

Dealing with Temperature Fluctuations

Ovens can often have temperature fluctuations that affect your baking results. If you notice inconsistent baking or if your baked goods are not cooking evenly, it might be time to check if your oven’s heating elements are functioning properly. Using an oven thermometer can help you track these fluctuations and make necessary adjustments.

Tip: Rotate your baking trays halfway through the cooking time to ensure even baking, especially if you’re using a conventional oven with known hot spots.

Recipes and Temperature Adjustments

When experimenting with recipes, remember that baking temperatures can be adjusted based on the specific needs of your dish. If you’re trying a new recipe, it’s a good practice to start with the recommended temperature and then make small adjustments as needed. Keeping detailed notes on how changes in temperature affect the final product can help you perfect your baking skills.

Tip: For recipes that call for both high and low temperatures (e.g., starting at a high temperature to set the crust and then lowering it to bake the filling), follow the temperature changes as directed to avoid common pitfalls like burnt edges or undercooked centers.

Conclusion

Mastering baking temperatures is essential for achieving consistent and delicious results in your baking endeavors. By understanding your oven’s behavior, adjusting temperatures for different recipes, and addressing high-altitude challenges, you can ensure that your baked goods come out perfectly every time. Remember, baking is a precise science, and attention to detail can elevate your skills from a home baker to a true baking enthusiast. Happy baking!

Decoding Baking Ingredients: What Each Ingredient Does and Why It Matters

Decoding Baking Ingredients: What Each Ingredient Does and Why It Matters

Baking is both an art and a science, where understanding the role of each ingredient can make all the difference between a culinary masterpiece and a kitchen disaster. Whether you’re a novice baker or an experienced cook, grasping the function of each component in your recipe is crucial for achieving perfect results. In this guide, we’ll delve into the essential baking ingredients, their purposes, and how they interact to create delectable baked goods.

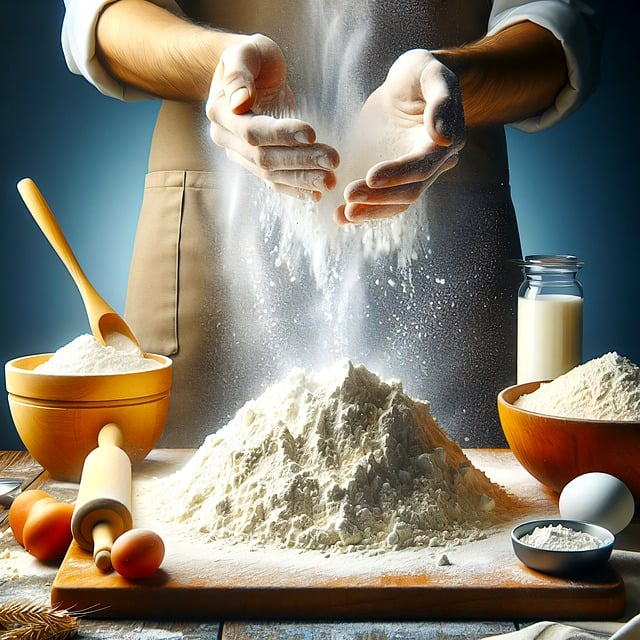
Baking Ingredient- Flour

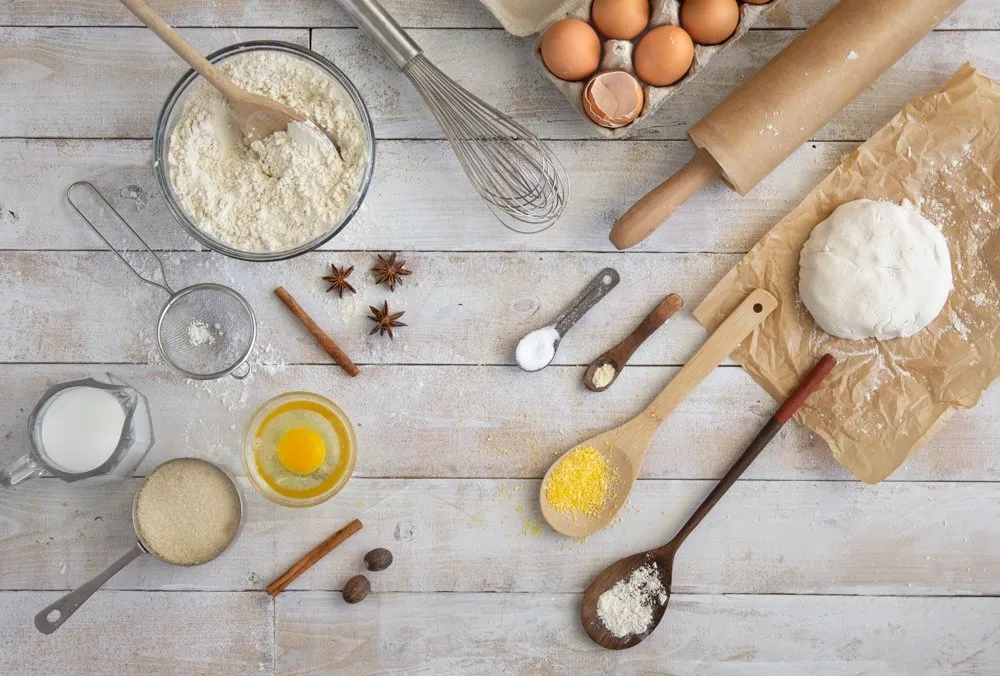
Essential Baking Ingredients Understading

Baking relies on a delicate balance of ingredients, each playing a specific role to ensure your creations turn out as intended. Let’s break down the most common baking ingredients and their functions.

Key Baking Ingredients and Their Functions

Flour: The Structure Provider

Flour is the backbone of most baking recipes. It provides structure and texture through the formation of gluten. Gluten, a protein found in wheat flour, gives dough its elasticity and helps it rise. Different types of flour can affect the final product:

  • All-Purpose Flour: Versatile and used in a wide range of recipes, including cakes, cookies, and bread.
  • Cake Flour: With a lower protein content, it yields a softer, more tender crumb, ideal for cakes and pastries.
  • Whole Wheat Flour: Adds a denser texture and more nutritional value, but can result in heavier baked goods.

Sugar: Sweetness and Moisture

Sugar isn’t just for sweetness; it plays several vital roles in baking:

  • Sweetness: Enhances flavor and balances other ingredients.
  • Moisture: Sugar attracts moisture, which helps keep baked goods tender and prevents them from drying out.
  • Browning: Caramelizes during baking, contributing to the color and flavor of the final product.

Different types of sugar, such as granulated, brown, and powdered sugar, have varying impacts on texture and taste. Brown sugar, for example, adds moisture and a hint of caramel flavor due to its molasses content.

Eggs: Bind and Leaven

Eggs are incredibly versatile in baking:

  • Binding: Eggs help hold ingredients together, providing structure and stability to cakes and cookies.
  • Leavening: When beaten, eggs incorporate air into the batter, helping to leaven and create a lighter texture.
  • Moisture: They add moisture and richness to the batter.

Egg whites and yolks can be used separately to achieve different textures and finishes in your baked goods.

Leavening Agents: The Rise Makers

Leavening agents are crucial for making baked goods rise and become light and airy. They include:

  • Baking Powder: A combination of an acid and a base that produces carbon dioxide when mixed with liquid, helping dough rise. It’s often double-acting, meaning it works in two phases: once when mixed and again when heated.
  • Baking Soda: A base that requires an acid (like lemon juice or buttermilk) to activate and produce carbon dioxide. It’s powerful and should be used in recipes that contain acidic ingredients.
  • Yeast: A living organism that ferments sugars to produce carbon dioxide, causing dough to rise. It’s used primarily in bread recipes and needs time to proof and rise.

Additional Key Ingredients

Fat: Tenderness and Flavor

Fats, such as butter, oil, and shortening, contribute to the texture and flavor of baked goods:

  • Butter: Provides a rich flavor and tender crumb, and can be creamed with sugar to incorporate air into the batter.
  • Oil: Adds moisture and can make baked goods more tender. It doesn’t solidify at room temperature, so it can create a different texture compared to butter.
  • Shortening: Helps create a crumbly texture and can make cookies and cakes tender.

Dairy: Richness and Moisture

Dairy products, like milk, buttermilk, and cream, enhance the flavor and texture of baked goods:

  • Milk: Adds moisture and helps dissolve ingredients. Whole milk contributes richness, while lower-fat options may produce slightly different textures.
  • Buttermilk: Adds tanginess and reacts with baking soda for a lighter texture.
  • Cream: Adds richness and can be used for toppings and fillings.

Salt: Enhancing Flavors

Salt is more than just a seasoning; it:

  • Enhances Flavor: It balances and enhances the sweetness and other flavors in baked goods.
  • Strengthens Gluten: In bread doughs, salt strengthens gluten, improving texture and structure.
  • Controls Yeast: It regulates yeast activity, ensuring a balanced rise.
Techniques for Using Baking Ingredients Effectively

Measuring Ingredients Accurately

Accurate measurement of ingredients is vital for successful baking:

  • Use a Kitchen Scale: For precision, especially in recipes requiring exact amounts.
  • Measure Dry Ingredients Properly: Spoon flour into a measuring cup and level it off with a knife to avoid packing.
  • Liquid Measurements: Use clear measuring cups with a spout for accurate liquid measurements.

Mixing Methods

Different mixing methods impact the texture and structure of your baked goods:

  • Creaming: Creaming butter and sugar together incorporates air and creates a lighter texture.
  • Folding: Gently incorporating ingredients to maintain air and prevent deflating the batter.
  • Beating: Incorporating air into the batter for a lighter texture, particularly with eggs.

Baking Techniques

  • Preheat Your Oven: Ensures even baking and proper rising.
  • Avoid Overmixing: Overmixing can lead to dense or tough baked goods due to excessive gluten development.
  • Use the Right Bakeware: The type of bakeware can affect the baking time and texture. Light-colored pans tend to bake more evenly compared to dark ones.
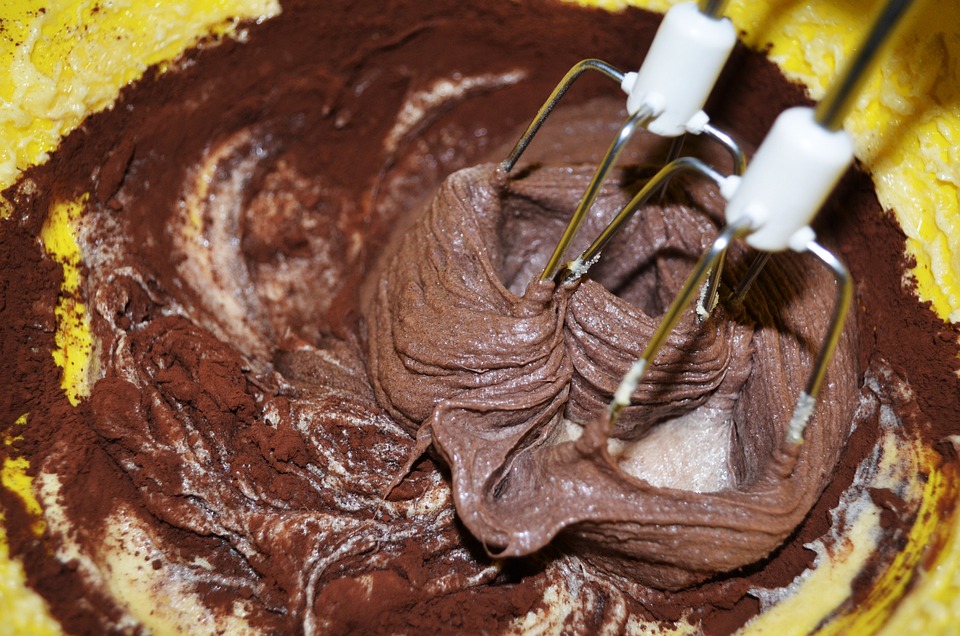
cake batter-using baking ingredients
Conclusion

Understanding the role of each baking ingredient is essential for creating delicious and well-textured baked goods. From flour’s structure-providing properties to the leavening agents that make your cakes rise, each ingredient has a specific purpose that contributes to the overall result. By mastering these components and their interactions, you can enhance your baking skills and achieve consistently excellent results. So next time you bake, remember that the magic is not just in the recipe but also in the ingredients and how you use them.

To buy Baking products Click Here

To contact us Click here
How to Achieve Perfectly Fluffy Cakes: Tips from a Home Baker

Fluffy Cakes: Best Techniques for Achieving a Perfectly Light and Airy Texture

Baking a cake that’s both light and airy can be a challenge, especially when aiming for that perfect texture that melts in your mouth. For home bakers looking to master this skill, understanding the techniques and factors that contribute to fluffy cakes is essential. This guide will explore the best methods and tips to ensure your cakes turn out with the ideal consistency every time.

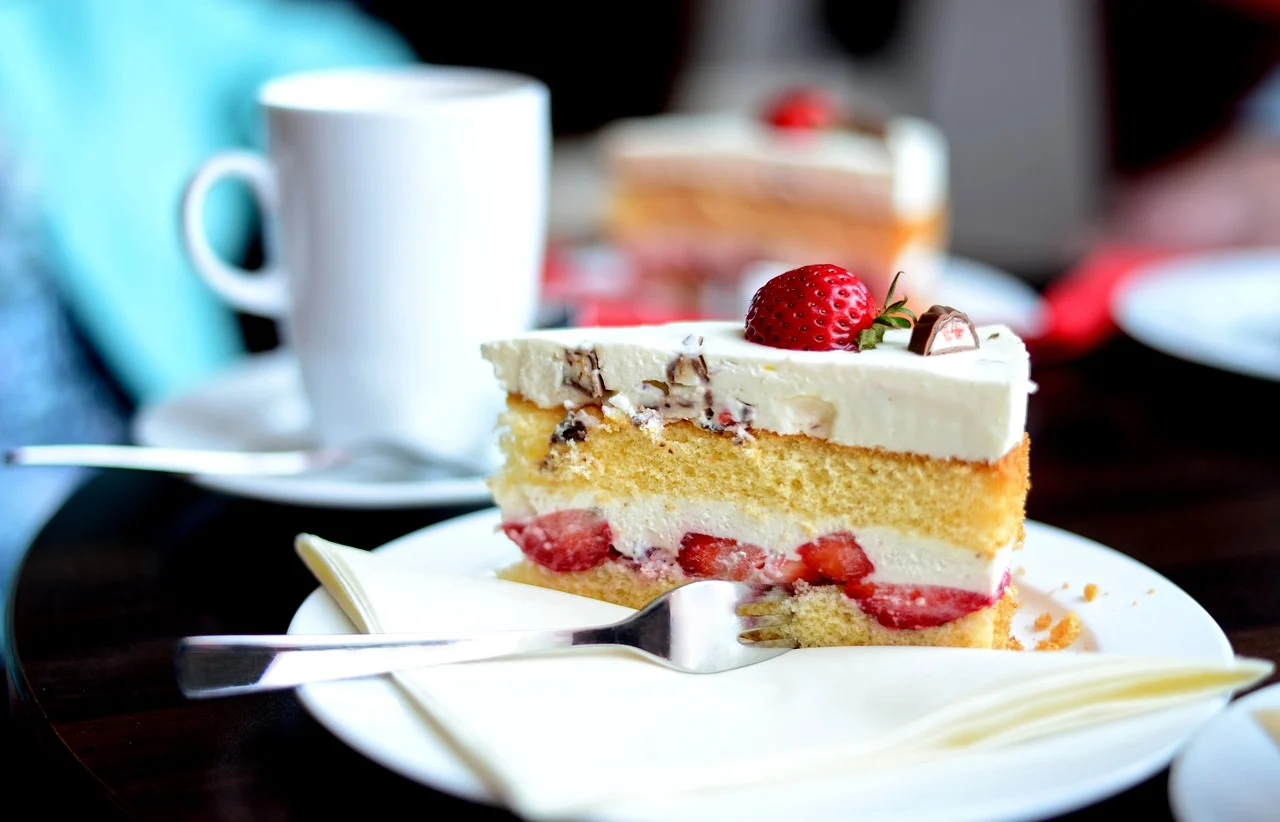
strawberry fluffy cake

Understanding What helps in making Fluffy Cakes

The term “fluffy” refers to a cake that is light, soft, and has a desirable crumb texture. Achieving this involves a combination of the right ingredients, proper techniques, and a bit of scientific understanding of how baking works.

Key Ingredients for Light and Fluffy Cakes

  • Leavening Agents: Baking powder and baking soda are crucial for creating a light texture. These leavening agents release carbon dioxide when mixed with liquid, which gets trapped in the batter and causes it to rise. Ensure your leavening agents are fresh for the best results.

  • Butter and Sugar: Creaming butter and sugar together incorporates air into the batter, which contributes to a lighter texture. Beat them until the mixture is pale and fluffy. This process is essential for achieving a soft crumb.

  • Eggs: Eggs provide structure and stability but also contribute to the fluffiness. They should be at room temperature to mix more easily and trap air effectively.

  • Flour: The type of flour you use can impact the cake’s texture. All-purpose flour is commonly used, but cake flour can provide an even lighter texture due to its lower protein content.

  • Liquid: Adding liquids like milk or buttermilk helps to create steam during baking, which aids in leavening. Buttermilk also reacts with baking soda to enhance fluffiness.

Techniques for Achieving Fluffy Cakes

  • Proper Mixing: Over-mixing the batter can lead to dense cakes because it develops the gluten in the flour too much. Mix just until the ingredients are combined. This is especially important when combining flour with wet ingredients.

  • Creaming Method: Creaming the butter and sugar properly is key. Use an electric mixer and beat until the mixture is light and fluffy. This step incorporates air into the batter, contributing to a lighter texture.

  • Sifting Dry Ingredients: Sifting flour and other dry ingredients before mixing helps to aerate them and remove any lumps. This ensures a smoother batter and better cake texture.

  • Room Temperature Ingredients: Ensure that butter, eggs, and other refrigerated ingredients are at room temperature before mixing. This helps them blend more evenly and trap air better.

  • Baking Temperature: Preheat your oven to the correct temperature before placing your cake in it. An oven that’s too hot can cause the cake to rise rapidly and then collapse, while an oven that’s too cool may not allow the cake to rise properly.

  • Avoid Opening the Oven Door: Opening the oven door too soon can cause the cake to collapse. Keep the door closed until the cake is nearly done to avoid any temperature fluctuations.

Common Mistakes to Avoid
  • Using Cold Ingredients: Cold ingredients don’t mix as well and can result in a denser cake. Allow ingredients like butter and eggs to come to room temperature before baking.

  • Incorrect Measuring: Measuring ingredients incorrectly, especially flour, can lead to a dense cake. Use a kitchen scale for accuracy or spoon flour into the measuring cup and level it off with a knife.

  • Overmixing the Batter: Overmixing can cause a dense texture by developing too much gluten. Mix the batter just until combined to avoid this issue.

  • Underbaking: An underbaked cake can be dense and gooey. Ensure the cake is baked through by testing it with a toothpick; it should come out clean when inserted into the center.

Additional Tips for Perfectly Fluffy Cakes
  • Use Fresh Ingredients: Old or expired baking powder or baking soda can affect the rise of your cake. Always use fresh ingredients to ensure the best results.

  • Incorporate Flavor Carefully: Adding ingredients like vanilla extract or citrus zest should be done with care. Too much can affect the texture, so follow recipes closely.

  • Allow Cakes to Cool Properly: Let cakes cool in the pan for about 10 minutes before transferring them to a wire rack. This prevents them from becoming soggy and helps maintain their fluffy texture.

  • Experiment with Add-Ins: If adding ingredients like chocolate chips or fruit, coat them in a little flour before mixing them into the batter. This helps prevent them from sinking to the bottom and keeps the texture light.

Conclusion

Achieving perfectly fluffy cakes requires attention to detail and a bit of practice. By understanding the role of each ingredient and applying the right techniques, you can bake cakes with a light, airy texture that rivals those from professional bakeries. Remember to avoid common mistakes, use fresh ingredients, and follow these tips for the best results. With time and experience, you’ll become adept at creating cakes that are not only visually appealing but also wonderfully light and delicious. Happy baking!

To buy Baking products Click Here

To contact us Click here